Black and white portrait photography is built on one thing: control of light. Once you understand how to shape light for high key and low key results, you stop guessing and start directing the final image before you even press the shutter.
Looking for a hands-on demonstration? Our YouTube video takes you through the entire process, from lighting setup to final edit.
This guide breaks down exactly how to approach both styles in a real shooting environment, and how to carry that control through into post-production.
High key vs low key lighting
High key and low key are not editing styles, they are lighting decisions made in-camera.
High key photography focuses on bright, clean tones with controlled highlights and minimal heavy shadows. It is often used for beauty, portrait, and commercial work where a soft, clean look is required.
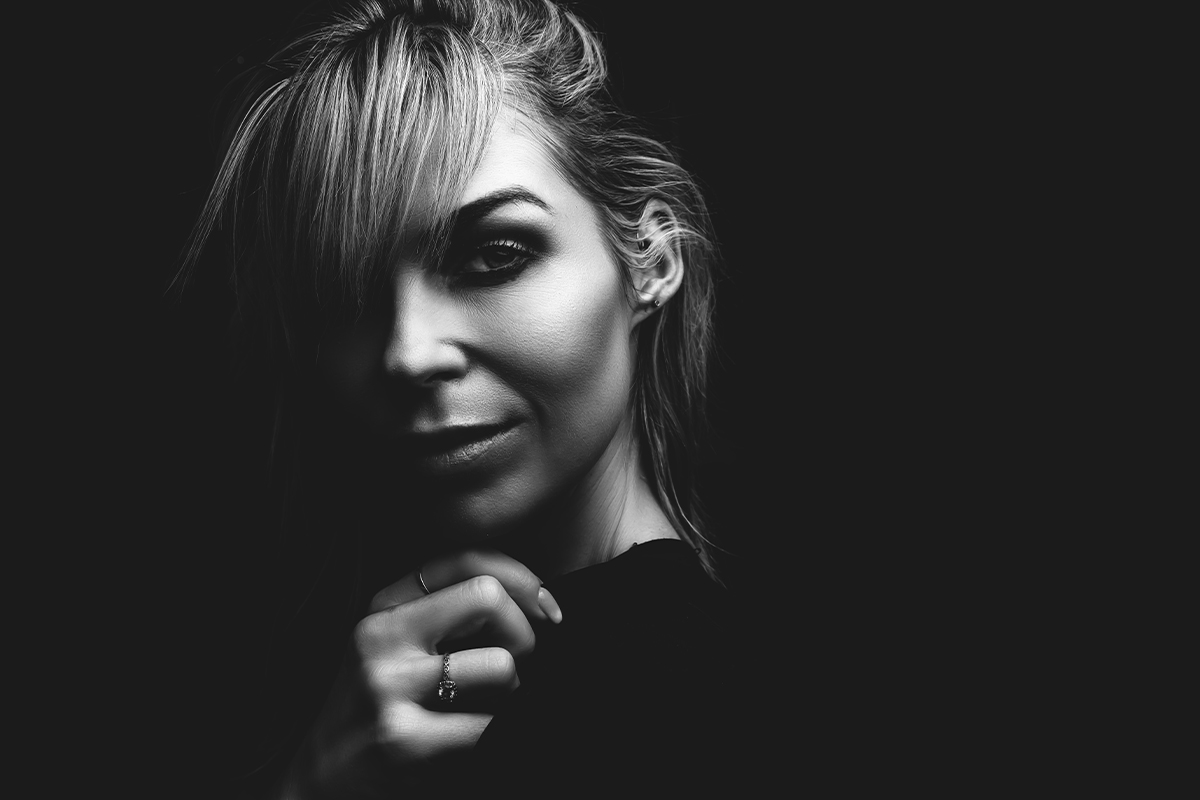
Low key photography focuses on shadow, contrast, and selective lighting. It is used to create mood, depth, and separation, often with a more dramatic or emotional feel.
Both rely on the same foundation: intentional light placement.
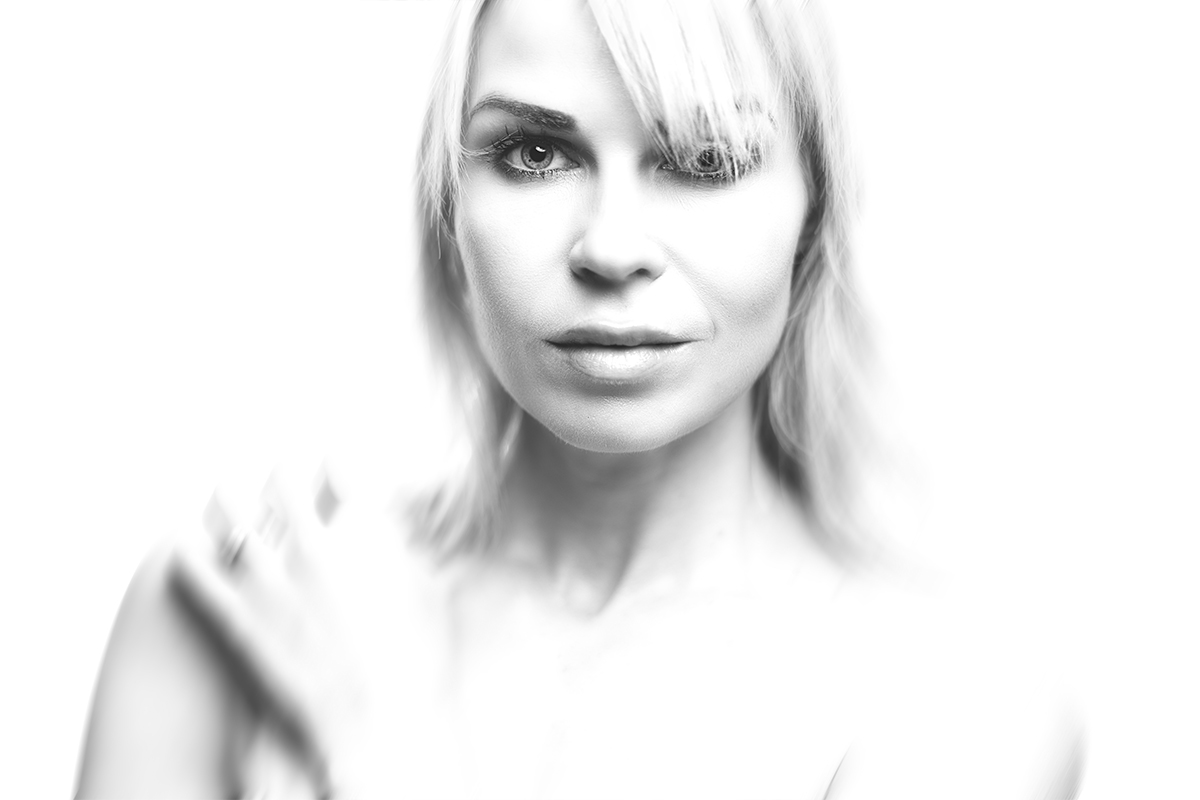
Building a high key portrait
High key lighting is not about overexposing an image. It is about controlling brightness while still retaining structure in the subject.
In this setup, a strong light source is positioned to push the background towards pure white while still allowing facial features to remain defined. Spill light is used intentionally to create rim light and separation around the subject.
A large modifier helps soften transitions so the light wraps naturally across the face instead of creating harsh edges.
The key challenge is balance. If the background becomes too dominant, the subject loses presence. If it is too controlled, the image stops feeling like high key.
Camera settings typically start wide open for flexibility, then are refined as light is increased and shaped. ISO is kept low to preserve tonal range, while shutter speed is used as a primary exposure control point.
The goal is simple: bright, clean, but still dimensional.
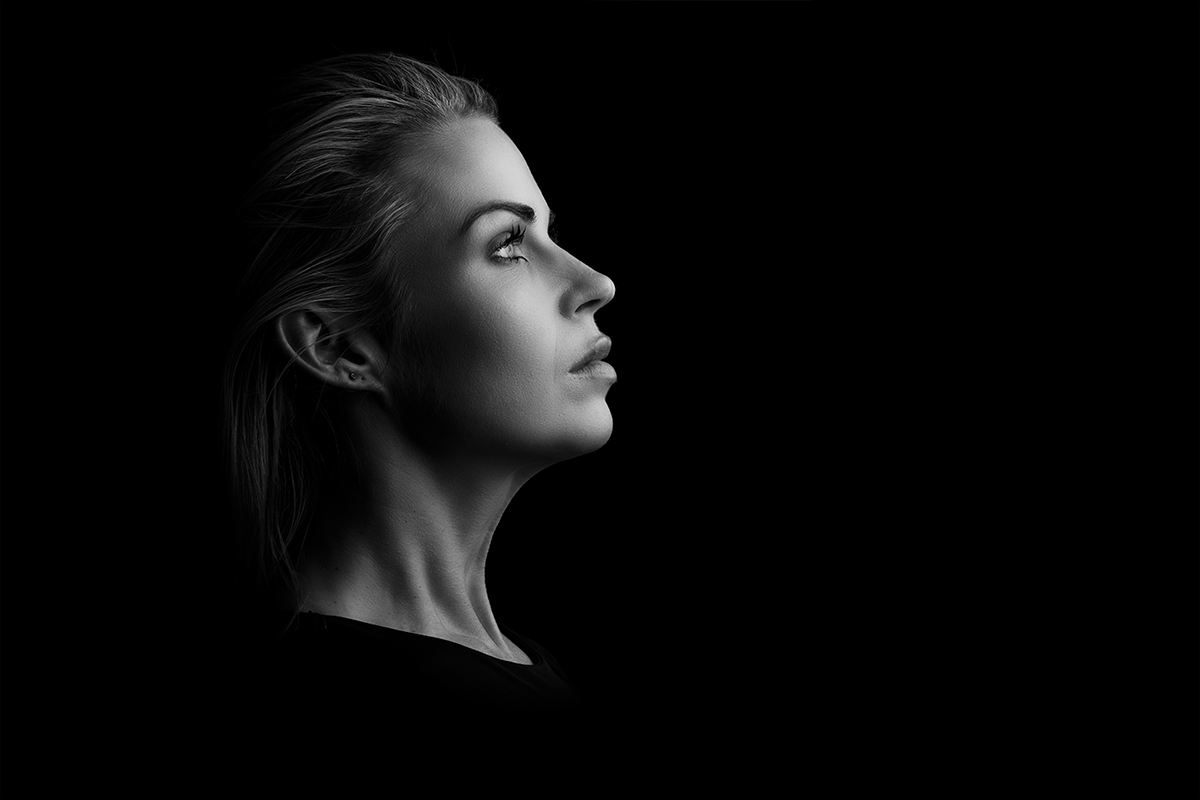
Building a low key portrait
Low key lighting is about removing light rather than adding it.
A single controlled light source is used to define only the essential parts of the face. Everything else is allowed to fall into shadow naturally.
This is where direction and distance matter more than power. Small adjustments in light position completely change how much of the face is revealed or hidden.
A tighter aperture is often used to increase overall sharpness and reduce unwanted light spill. Light power is reduced to isolate highlights, especially around the eyes and facial structure.
The background is not lit. It is allowed to disappear.
The goal is contrast control. You are deciding exactly what the viewer sees, and what they do not.
Working in a tight environment
This shoot takes place in a confined boardroom space, which introduces real limitations.
Background control becomes harder. Light placement is restricted. Camera positioning is limited by distance.
Instead of fighting the space, the focus shifts to adapting lighting direction and using perspective to your advantage.
This is where understanding falloff and modifier behaviour becomes critical. You are not building a studio from scratch. You are shaping what you already have.
Shooting decisions that matter
Several key decisions directly affect the final outcome:
- Lens choice affects compression and facial structure
- Aperture affects both sharpness and light spill
- Light distance changes softness and falloff
- Subject angle controls shadow depth and facial definition
Small changes in any of these can completely shift the mood of the final image.
High key and low key both depend on consistency. Once the lighting direction is set, everything else must support it.
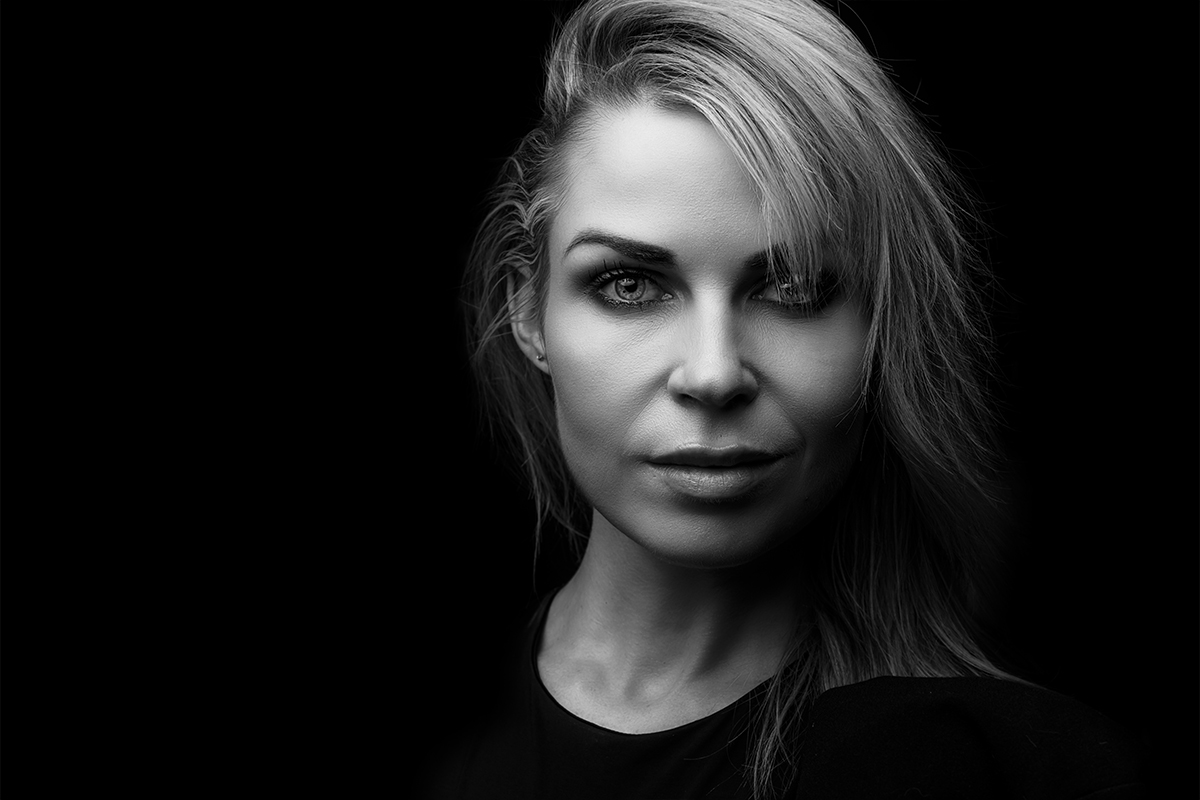
Editing black and white portraits
The editing process is not about fixing the image. It is about refining the lighting decisions already made.
Image selection
From a large shoot, only a small number of frames are selected for editing.
This step is important. It forces clarity in intent and prevents over-editing weak images.
Base adjustments
Editing begins in Adobe Camera Raw:
- Convert to black and white using saturation control
- Adjust exposure, contrast, highlights, shadows, whites, and blacks
- Add clarity and texture for controlled detail
- Apply subtle sharpening
At this stage, the goal is structure, not perfection.
Skin and detail control
Basic cleanup is done early:
- Spot removal for distractions
- Stray hair cleanup where necessary
- Light tonal correction per image
The focus is still global control, not detailed refinement.
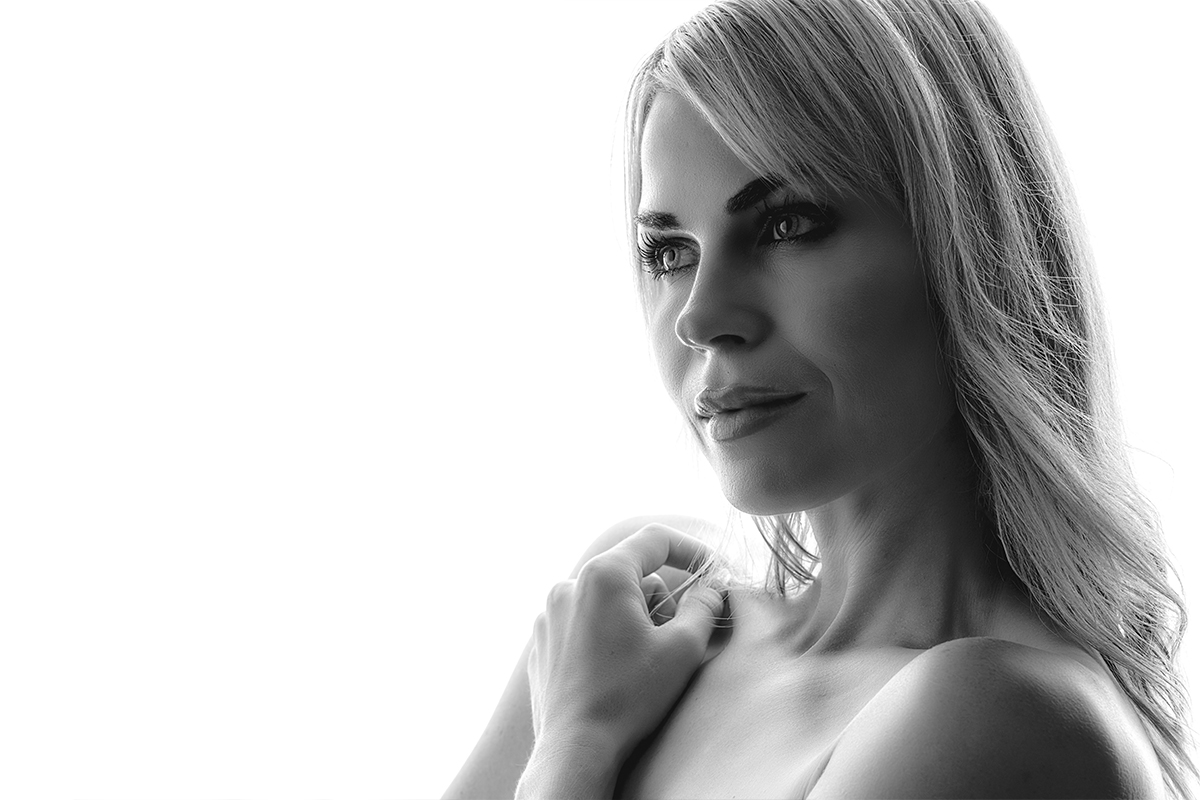
Frequency separation
Frequency separation is used to separate texture from tone in the skin.
The process is intentionally pushed too far first, then reduced back using opacity control.
This allows better control over how smooth or textured the skin appears without destroying natural detail.
The key principle here is control, not perfection.
Contrast and focus shaping
Additional layers are used to guide attention:
- High pass sharpening for eyes and facial detail
- Exposure adjustments for matte or lifted black effects
- Selective masking to direct viewer focus
- Subtle motion blur in specific areas to reduce distraction
These tools are not used globally. They are used selectively to reinforce composition.
Masking workflow
Masking is where control becomes precise.
Negative masks are used to underexpose or isolate areas, then painted back in where needed. This allows complete control over where light appears in the frame.
It is one of the most powerful tools in black and white editing because it mirrors what lighting already does in real life.
If you’re ready to build stronger lighting skills, our workshops are designed to help you apply these techniques in real shooting environments.