Studio lighting is one of the fastest ways to improve the quality of your photos and videos. It gives you control over exposure, mood, depth and consistency. Once you understand the core setups, you can adapt them to almost any shoot.
This guide breaks down the essential studio lighting configurations used by photographers, videographers and content creators.
Key light:
The key light is your main light source, it defines the subject and sets the overall look of the image. Place it first before adding anything else.
Positioning:
- 45 degrees to the subject is a standard starting point
- Slightly above eye level for natural shadow fall-off
- Closer for softer light, further away for harder light
The key light controls:
- Shape of the face or subject
- Direction of shadows
- Overall exposure balance
If you only use one light, this is it.
Fill light:
The fill light is used to soften shadows created by the key light. It does not replace the key light, it supports it.
Positioning:
- Opposite the key light
- Lower intensity than the key light
- Can be moved closer or further depending on how much shadow you want to retain
A strong fill light creates a clean, commercial look. A subtle fill keeps depth and contrast. You don’t always need a fill light, negative space or reflectors can often do the job better.
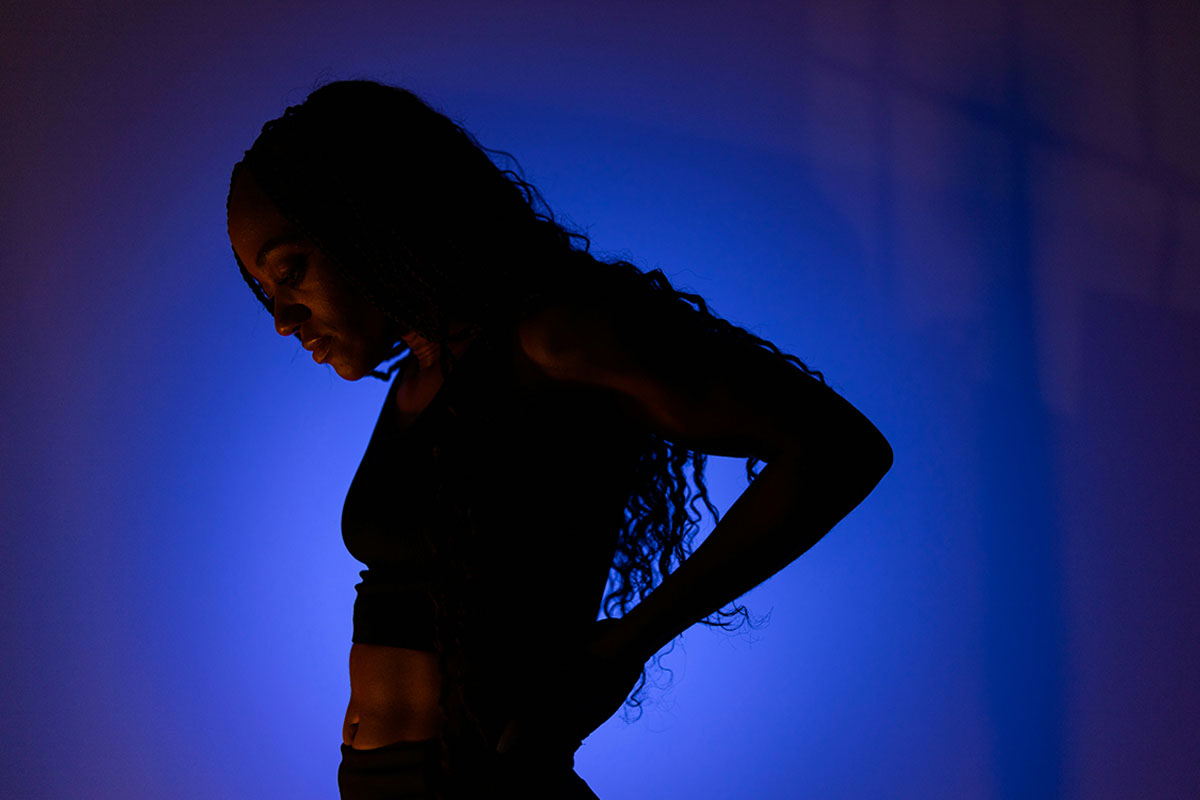
Back Light (or Hair Light):
The back light sits behind the subject, its purpose is separation. It helps prevent the subject from blending into the background.
Positioning:
- Behind and slightly above the subject
- Angled toward the shoulders or head
- Kept subtle to avoid overexposure or flare
This light adds depth and dimension, especially in darker studio setups.
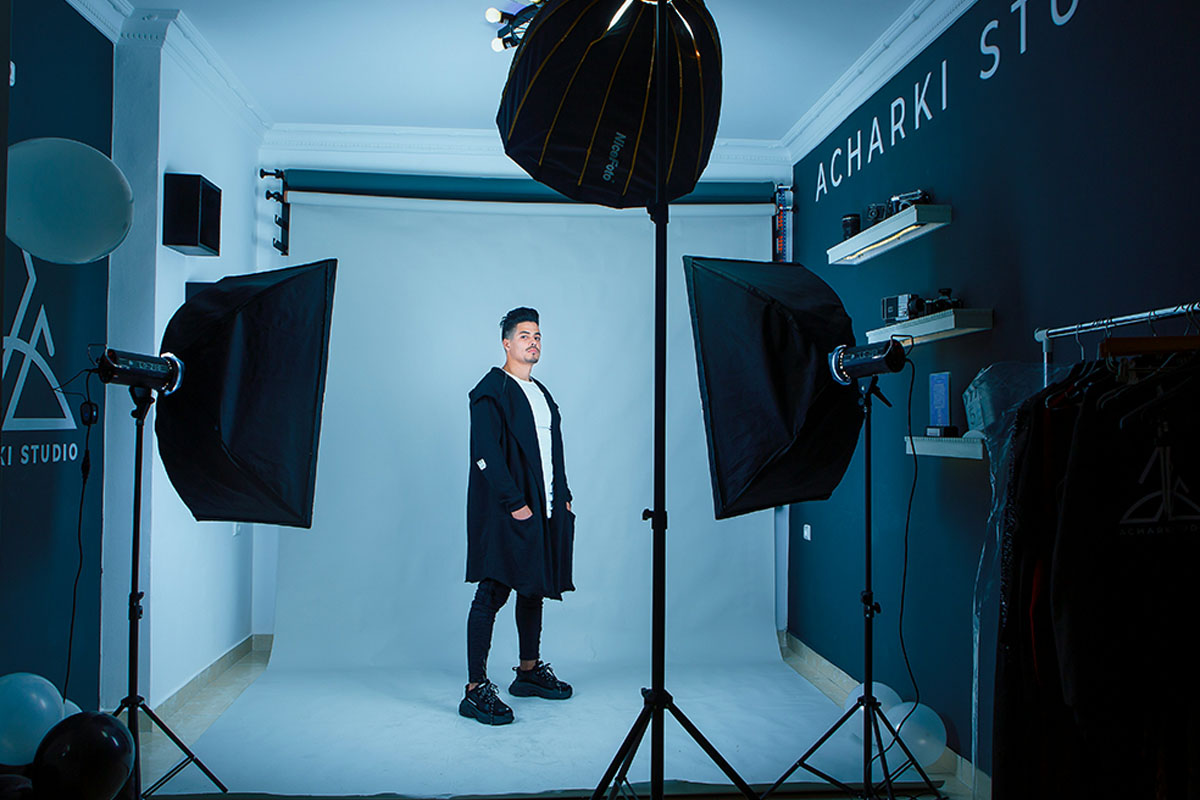
Three-Point lighting setup
The three-point setup is the standard in studio photography and videography work.
It includes:
- Key light (main source)
- Fill light (shadow control)
- Back light (separation)
Why it works:
- Balanced exposure
- Controlled shadows
- Professional, consistent results
Once you understand this setup, you can scale it up or strip it down depending on the shoot.
Soft Light vs Hard Light
Lighting quality matters just as much as placement.
Soft light:
- Created using softboxes, diffusion or bounce
- Flattering on skin
- Reduces harsh shadows
- Ideal for portraits, weddings and lifestyle content
Hard light:
- Direct, intense light
- Strong shadows and contrast
- More dramatic and stylised
- Often used in fashion or creative work
When choosing your lighting, start by thinking about the final look you want to achieve. Different light sources create different moods, colours, and levels of contrast, so the best choice depends on the story you want your image or video to tell.
Common Studio Modifiers
Light modifiers control how your light behaves, allowing you to shape its direction, softness, intensity, and spread. Choosing the right modifier can dramatically change the mood and look of your image, helping you create anything from soft, flattering portraits to bold, high-contrast lighting.
- Softbox:
Creates soft, even light. A standard in most studio setups. - Umbrella:
Wider spread of light. Quick and affordable option. - Beauty dish:
Crisp but flattering light. Common in portrait and beauty photography. - Reflector:
Bounces light back onto the subject. Useful as a fill alternative. - Grid:
Controls light spill and keeps light focused.
Each modifier changes the feel of your setup more than the light itself.
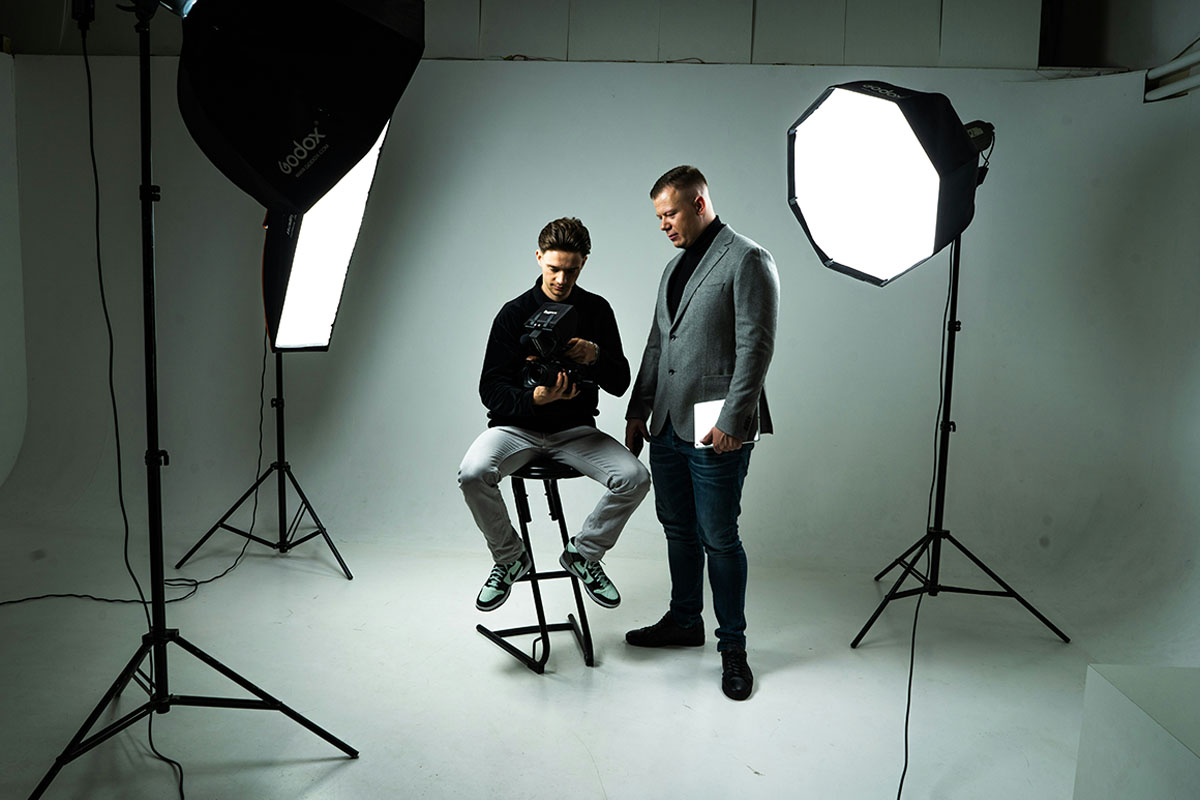
Simple Starter Setup
If you’re building a basic studio setup, start simple.
A reliable starter configuration:
- One key light with a softbox
- Optional reflector for fill
- Natural or controlled background
- One back light if you want depth
This setup works for portraits, content creation, interviews and small product shoots.
Good studio lighting isn’t about complexity, it’s about control. Start with one light, learn how it shapes your subject, and build from there. Once you understand light, you control the entire image.
Not sure what to use? Our Go-To Guys know their way around lighting, contact them anytime for advice.