So, you want your videos to look like they belong on the big screen?
You’re not alone and good news: cinematic videography isn’t just for Hollywood anymore. Whether you’re shooting a travel vlog, a wedding film, or your next project, a few key techniques can instantly level up your visuals.
1. Use the rule of thirds
One of the simplest ways to make your shots look cinematic is composition. The Rule of Thirds helps you frame subjects in a more engaging way. Picture your screen divided into 9 equal rectangles (like a tic-tac-toe board). Now, place your subject where the lines intersect.
This technique works especially well for interviews, portraits, landscapes, and even action shots. For example, placing a person off to one side while they look across the frame creates breathing space and a sense of story. It also helps guide your audience’s attention more intentionally through the scene.
Hot Tip: Most cameras (even phones) have a grid overlay you can turn on.

2. Shoot during golden hour
Lighting sets the mood and makes all the difference in how cinematic your footage looks. The soft, warm tones of golden hour - shortly after sunrise or just before sunset- naturally add that dreamy, film-like glow without much effort. On the flip side, harsh midday light can create unflattering shadows and make your footage feel flat or overexposed.
Use a reflector to bounce sunlight onto your subject’s face for softer, more even lighting. You can also use diffusers (or even a white sheet) to soften strong light. Use shadows, blinds, or even tree leaves to add interesting textures and movement to your scene. Good lighting isn’t always about expensive gear, it’s about seeing what’s already available and shaping it to match your mood.
Bonus: Natural lighting means less gear needed.
3. Add motion like a pro
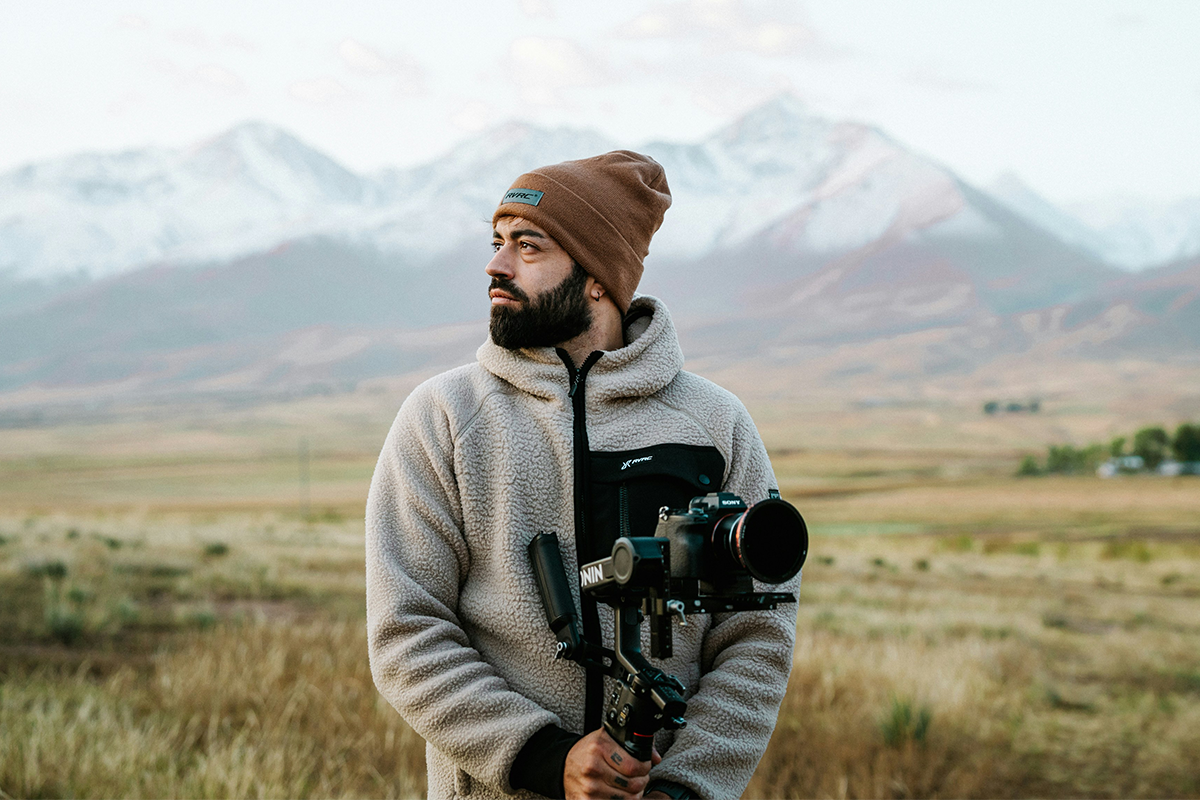
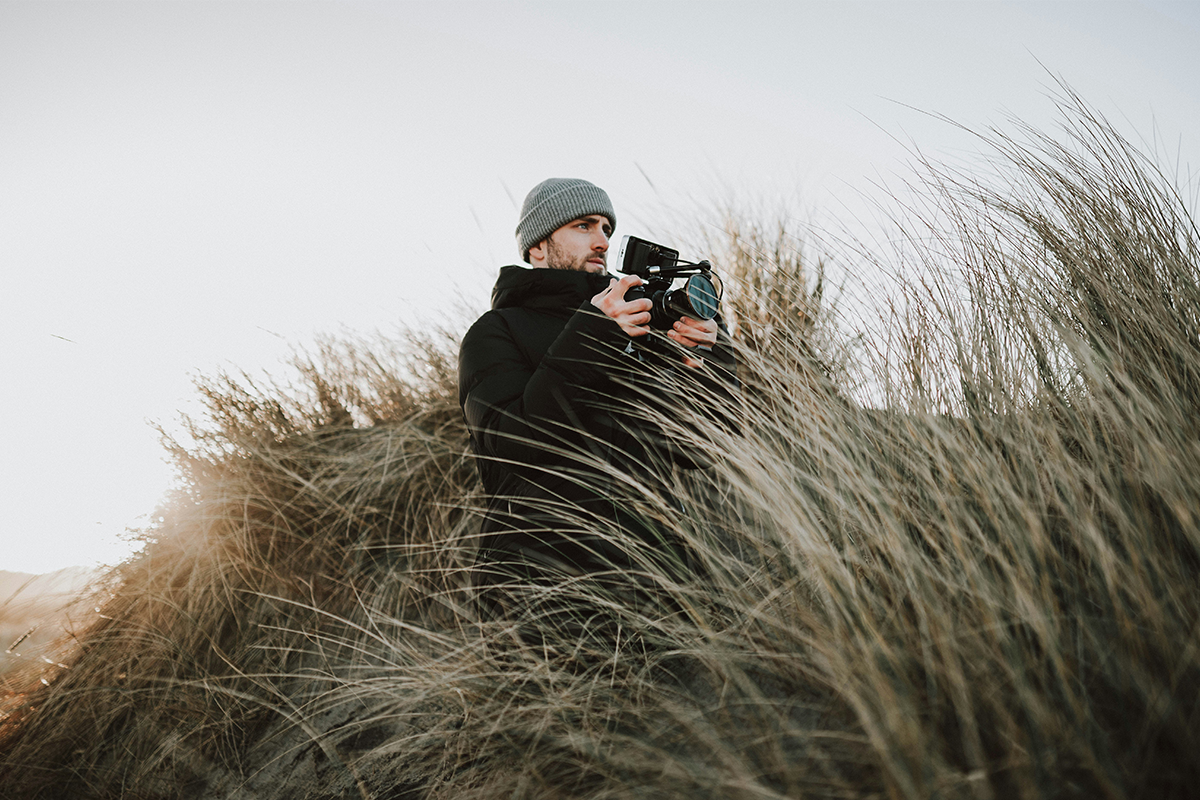
Movement can bring your shots to life, but shaky footage is a buzzkill. Use slow, deliberate camera moves like pans, tilts, or push-ins. If you don’t have a stabiliser, try using a tripod, your body, or even placing your camera on a smooth surface to slide it.
Beginner Hack: Walk heel-to-toe when moving with your camera, it helps stabilise your steps.
4. Shoot in 24fps for that film look
The cinematic standard is 24 frames per second. Shooting in this setting gives your footage that natural motion blur we’re used to seeing in movies. Many phones and cameras have this option, just dig into your video settings and switch it on.
5. Colour grade for drama and mood
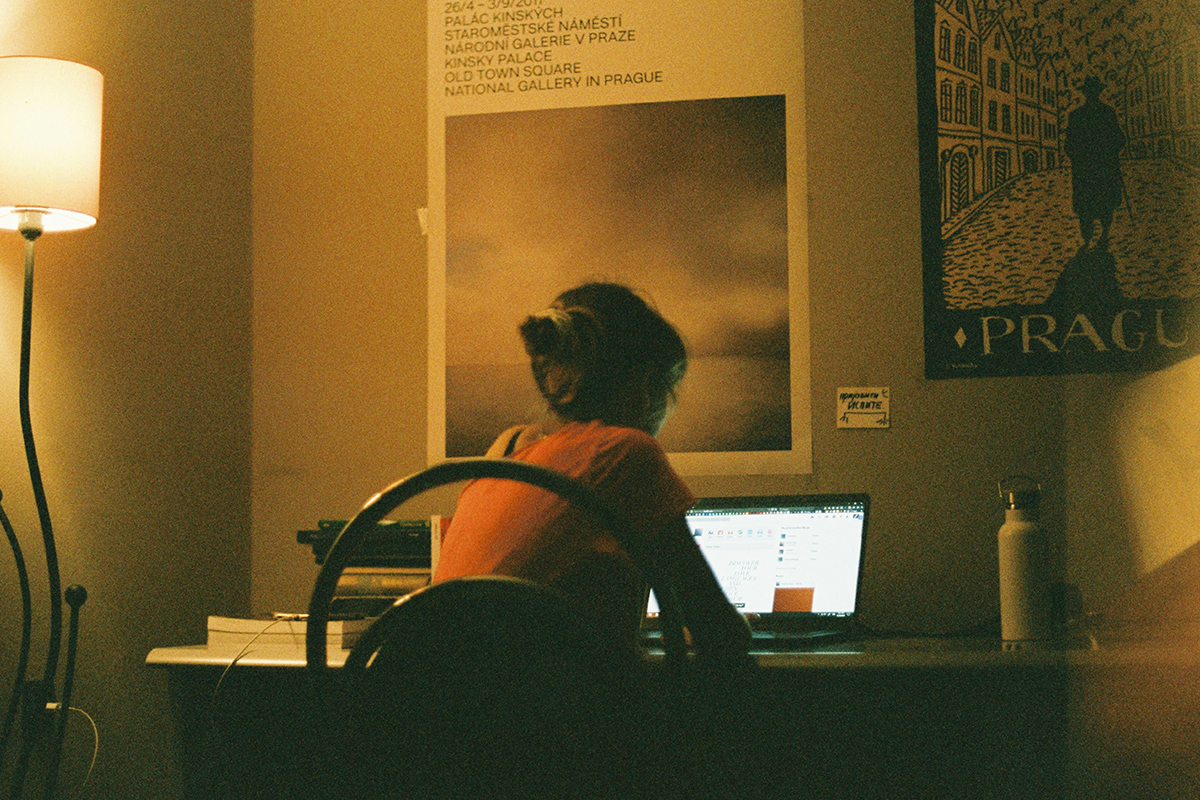
Colour can change a lot. A soft teal-orange tone can make your video feel like a blockbuster. Start with a LUT (basically a colour filter for video) and adjust from there. Free software like DaVinci Resolve or basic grading in Adobe Premiere or CapCut can work wonders. To grade accurately, make sure your screen shows true colours. Tools like the Datacolor Spyder help calibrate your monitor for accurate colour reproduction, so you can edit with confidence knowing your final video will look great on all screens.
Tip: Start subtle. Overgrading can make your footage look unnatural or “overcooked.” Less is often more when it comes to cinematic colour.
6. Don’t forget the sound!
Even the most beautiful visuals can feel unprofessional with bad audio. Cinematic films pay just as much attention to sound design-music, ambient sounds, and clean voice recordings. Start with clean audio. If you’re recording dialogue, use an external microphone whenever possible. Even a basic lav mic or shotgun mic can dramatically improve your sound compared to your camera or phone’s built-in mic.
Next, add cinematic music that fits the mood, whether it’s soft and emotional or upbeat and energetic. Platforms like Artlist or Epidemic Sound offer royalty-free tracks made specifically for filmmakers and content creators.
Then, bring your scenes to life with ambient sound:
- The gentle rustle of leaves
- Distant traffic in a city scene
- Birds chirping in a morning shoot
- A soft breeze or waves in the background
These subtle sound elements, known as foley or atmosphere layers, help ground your viewer in the world you’re showing and make your video feel more alive.
Pro Tip: Use headphones when editing audio. It’s easier to catch unwanted noise, adjust levels properly, and mix in your music and ambient sounds with care.
You don’t need big budget to start creating cinematic videos. With just a few key items and the right techniques, you can make a huge difference, turning everyday moments into unforgettable visual stories.