Good video starts with light. Not your camera. Not your lens. Light.
If your footage looks flat, noisy, or inconsistent, lighting is usually the reason. The good news is that you don’t need a complicated setup to fix it. You just need to understand a few core principles and apply them well.
Let’s break it down into practical, usable steps so you can improve your video immediately.
Why lighting matters more than you think
Your camera records light. That’s its only job.
Better light gives you:
- Cleaner footage with less noise
- Better skin tones
- More depth and separation
- A more professional look without expensive gear
You can shoot on an entry-level camera and still get great results with good lighting. The reverse is not true.

Start with one light
Beginners often overcomplicate lighting. Don’t.
Start with a single light source and learn how to control it. This is called a key light. It’s your main source of illumination and shapes how your subject looks.
Basic placement:
- Position the light at a 45° angle from your subject
- Slightly above eye level
- Aim it down toward the face
This creates natural-looking shadows and adds depth.
If you place the light directly in front of your subject, everything looks flat. Move it off to the side, and suddenly your image has dimension.
Understand light quality (Hard vs Soft)
Not all light behaves the same, and each type creates a very different mood on camera.
Hard light:
- Strong, defined shadows
- High contrast between light and dark areas
- Sharp, clearly visible edges
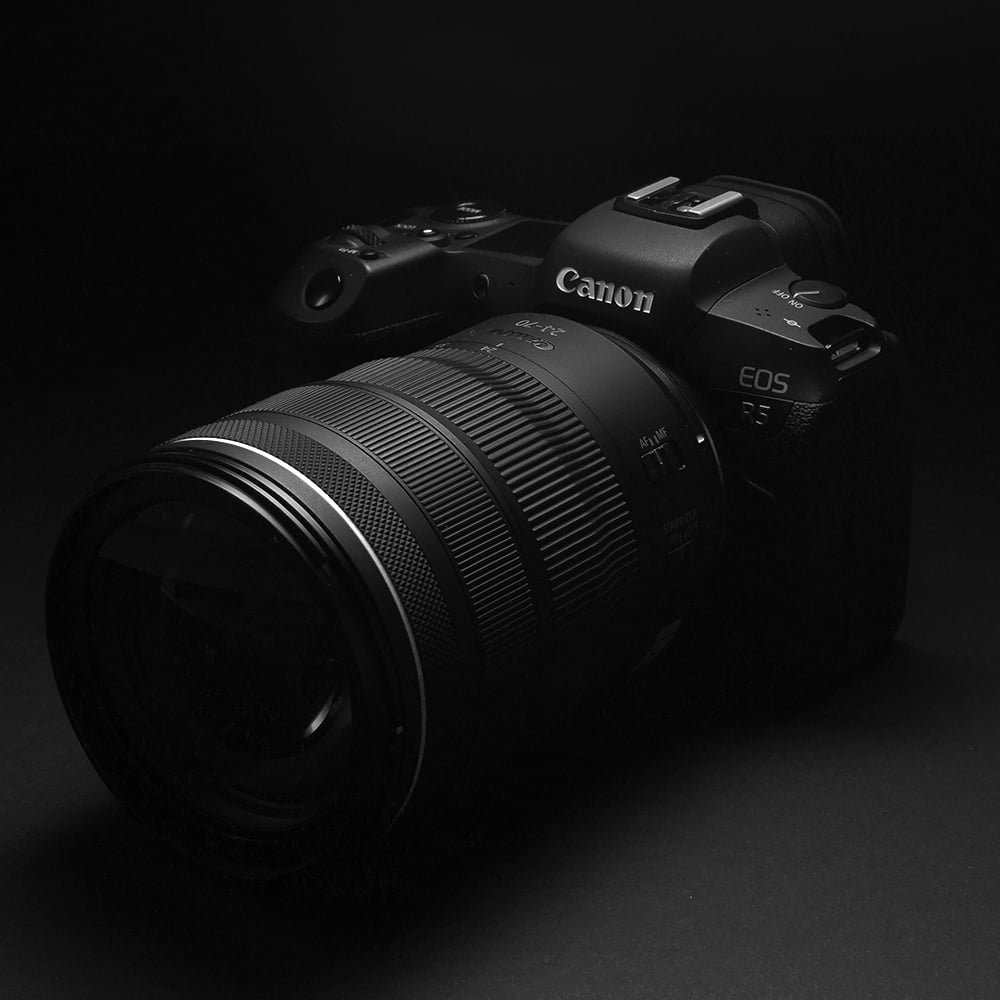
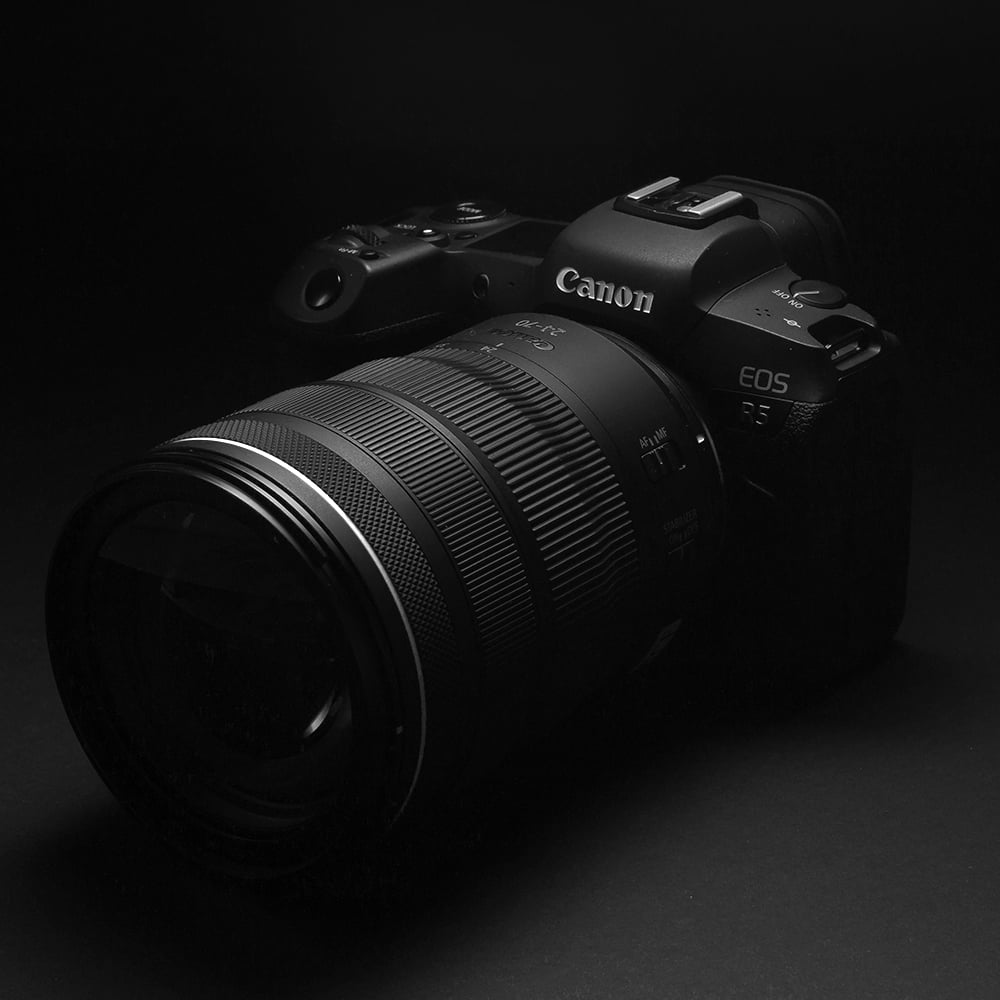
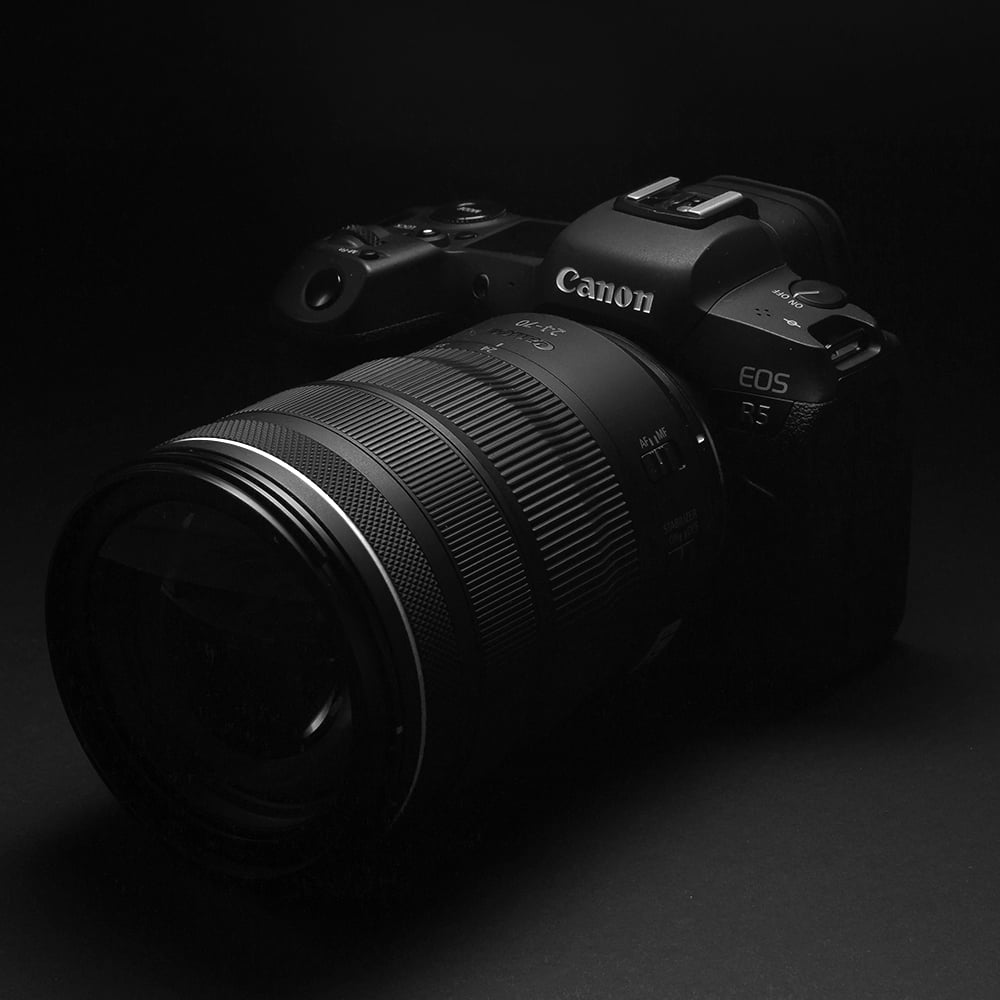
Hard light can feel intense and dramatic. It’s not “bad” light, it just creates a more stylised, high-impact look. Used intentionally, it can add tension, mood, and visual drama to your footage.
Soft light:
- Gentle shadows
- Even skin tones
- More flattering for people
Soft light is usually the safest starting point for beginners because it creates a clean, controlled, and natural-looking image, especially for people-focused content.
You can soften light by:
If your light is too harsh, your footage will look amateur quickly.

Control light direction
Before you start placing lights, it’s important to understand that direction is what shapes your subject. The same light can look flat, flattering, or dramatic depending on where it comes from. This section focuses on how positioning your light changes depth, mood, and texture in your video.
Front lighting:
- Even and safe
- Can look flat
Side lighting:
- Adds depth and texture
- More cinematic
Backlighting:
- Creates separation from the background
- Adds a professional feel
A simple upgrade is to add a small light behind your subject (often called a “hair light” or “rim light”).
A hair light is placed slightly above and behind your subject, aimed at the back of the head and shoulders. It adds a subtle highlight to the hair, helping your subject stand out from the background and look more polished on camera.
A rim light is similar, but slightly broader in effect. It creates a thin outline of light around the edges of your subject’s body. This adds separation and depth, especially when your background is dark or flat.
Both are used to prevent your subject from blending into the background and to give your shot a more professional, three-dimensional look.

Watch your background
Lighting isn’t just about your subject. A well-lit subject with a dark, messy background still looks off.
Keep it intentional:
- Add a small background light or practical lamp
- Use contrast to separate subject and background
- Avoid bright distractions behind your subject
This is where your video starts to feel “designed” instead of accidental.
Use natural light (But control it)
Natural light is free and powerful, but unpredictable.
Best approach:
- Position your subject facing a window
- Shoot during consistent light (morning or late afternoon)
- Avoid harsh midday sun
If the light is too strong, diffuse it with a curtain. If it’s uneven, move your subject instead of fighting it.

Colour Temperature: Keep it consistent
Different light sources have different colour temperatures.
- Daylight: cooler (blue tones)
- Tungsten: warmer (orange tones)
Mixing them creates unnatural skin tones.
Keep it simple:
- Use lights with adjustable colour temperature
- Match your lights to each other
- Set your camera’s white balance accordingly
If your footage looks “off,” this is often the issue.
Affordable lighting setup for beginners
You don’t need a full studio to get professional results. A simple, well-controlled setup goes much further than adding more lights.
A practical starting setup:
- 1x key light (main light source):
An LED panel like the Godox P260C Pro LED Light Panel or a COB light like the Godox SL60II D LED Video Light - 1x modifier (to soften the light):
A softbox such as the Godox 90cm Quick Release Parabolic Softbox or a diffuser like the Profoto Diffuser for Softlight Reflector - Optional:
A reflector or small backlight to add separation and depth
That’s enough to create clean, professional-looking video. Focus on control, not quantity.

Common Mistakes to Avoid
These are small lighting mistakes that can quickly lower the quality of your footage.
- Placing light directly on camera
This creates a flat, harsh look with no depth. Your subject loses shape and dimension. - Using overhead room lights as your main source
Ceiling lights often create unflattering shadows under the eyes and give an inconsistent, mixed-quality look. - Ignoring shadows completely
Shadows are what add depth and shape. Removing them entirely makes the image look flat and unnatural. - Mixing colour temperatures
Combining warm and cool lights confuses the image and makes skin tones harder to correct in editing. - Over-lighting the scene
Too much light removes contrast and detail, leaving everything looking washed out.
Lighting is not about making everything bright. It’s about shaping the scene, so your subject looks intentional, clean, and visually interesting.
Lighting is a skill. Not a product.
The more you practise, the more you’ll see how small adjustments change everything. Move your light. Change the angle. Soften it. Watch what happens.
Once you understand light, every camera becomes more powerful.