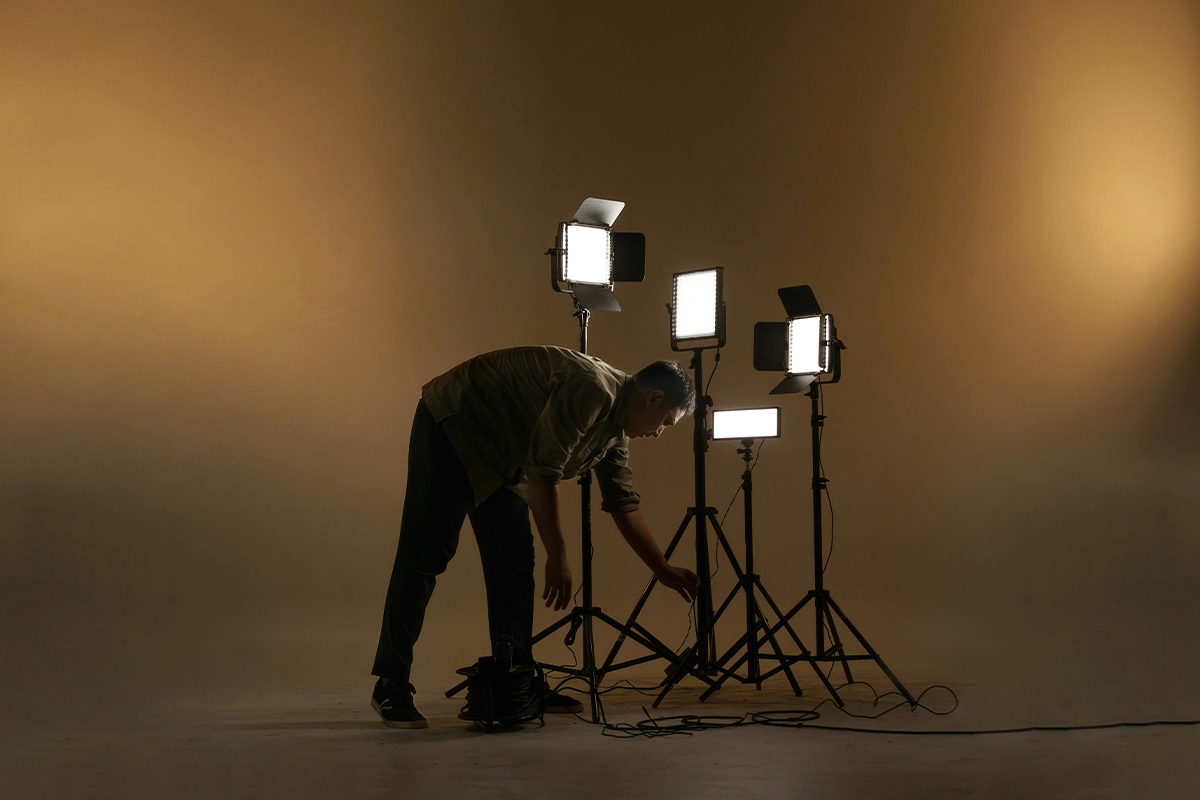
Let’s be honest gear is fun, but lighting is where the real magic happens. It’s the difference between a flat image and one that pulls you in. Whether you’re shooting videos, portraits, products or content for socials, knowing how to work with advanced lighting can instantly elevate your game.
If you’ve got the basics down and you’re ready to take things further, this one’s for you.
1. The Three-Point Lighting System
You’ve probably used this setup before: key light, fill light, and back light. Here’s how to give it some edge.
Key Light: Your main source. Position it at around 45° to your subject.
Fill Light: Softer, opposite the key. Pull it back if you want more shadow and mood.
Back Light (also called rim or hair light): Adds separation between your subject and background.
Pro tip: Use motivated lighting. Make your key light mimic something natural, like a desk lamp or a window. It adds a cinematic, authentic feel.
2. Rembrandt Lighting
A classic for portraits. This technique creates a triangle of light on the cheek opposite your light source. It’s moody, flattering and instantly gives character. Set your softbox or umbrella slightly above and off to the side.
Want a bit more light? Add a reflector. Want deeper shadows and mood? Go without the reflector.
Great for: Story-driven portraits, weddings, editorials with depth.
3. High-Key vs Low-Key Lighting
These two are all about emotion.
High-Key:
- Bright, even, low contrast. Think clean backdrops and cheerful vibes.
- Use multiple soft lights
- Slightly overexpose the background
Ideal for: Beauty work, product shoots, feel-good brand content
Low-Key:
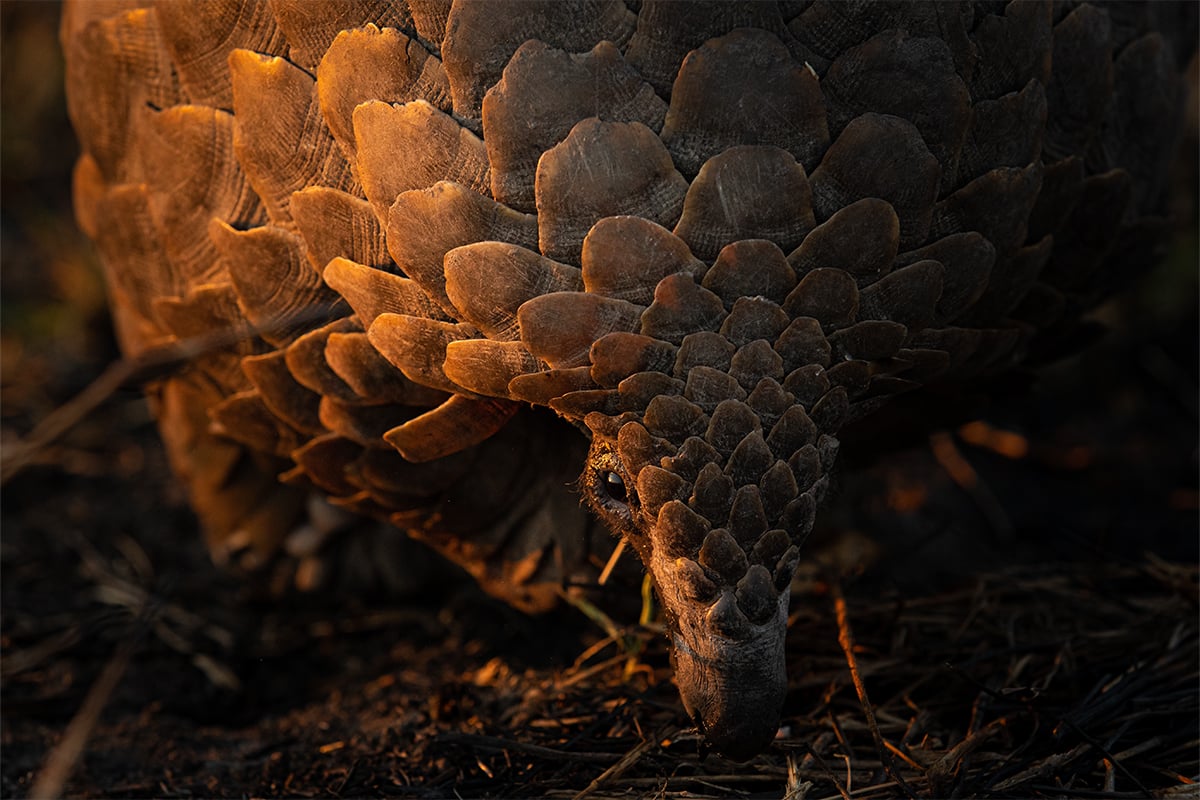
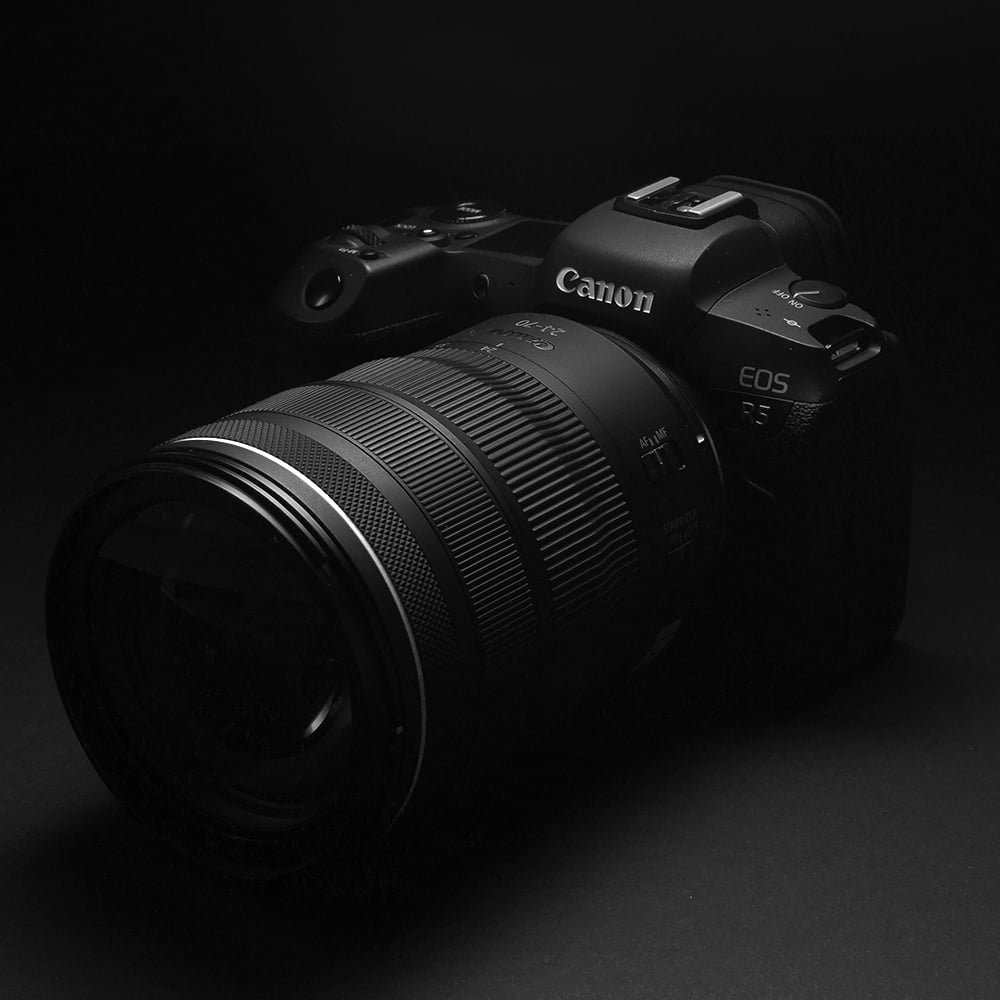
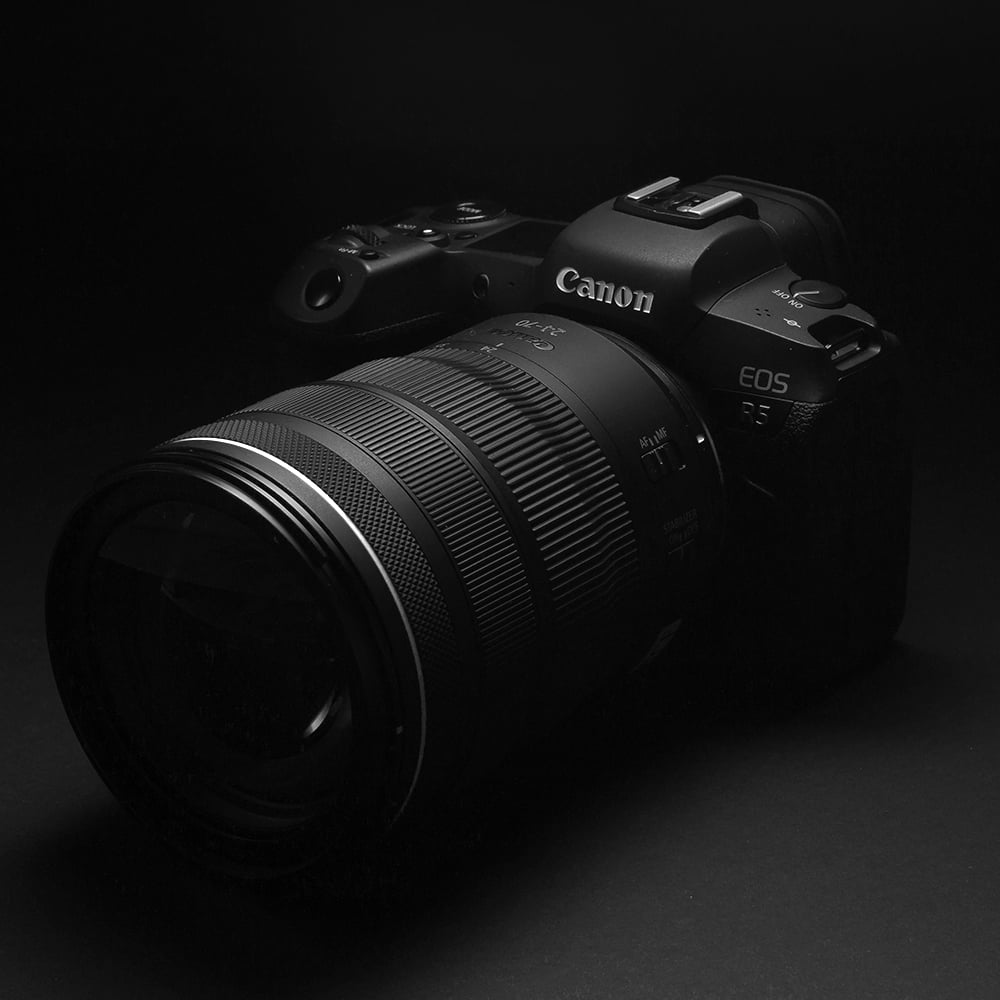
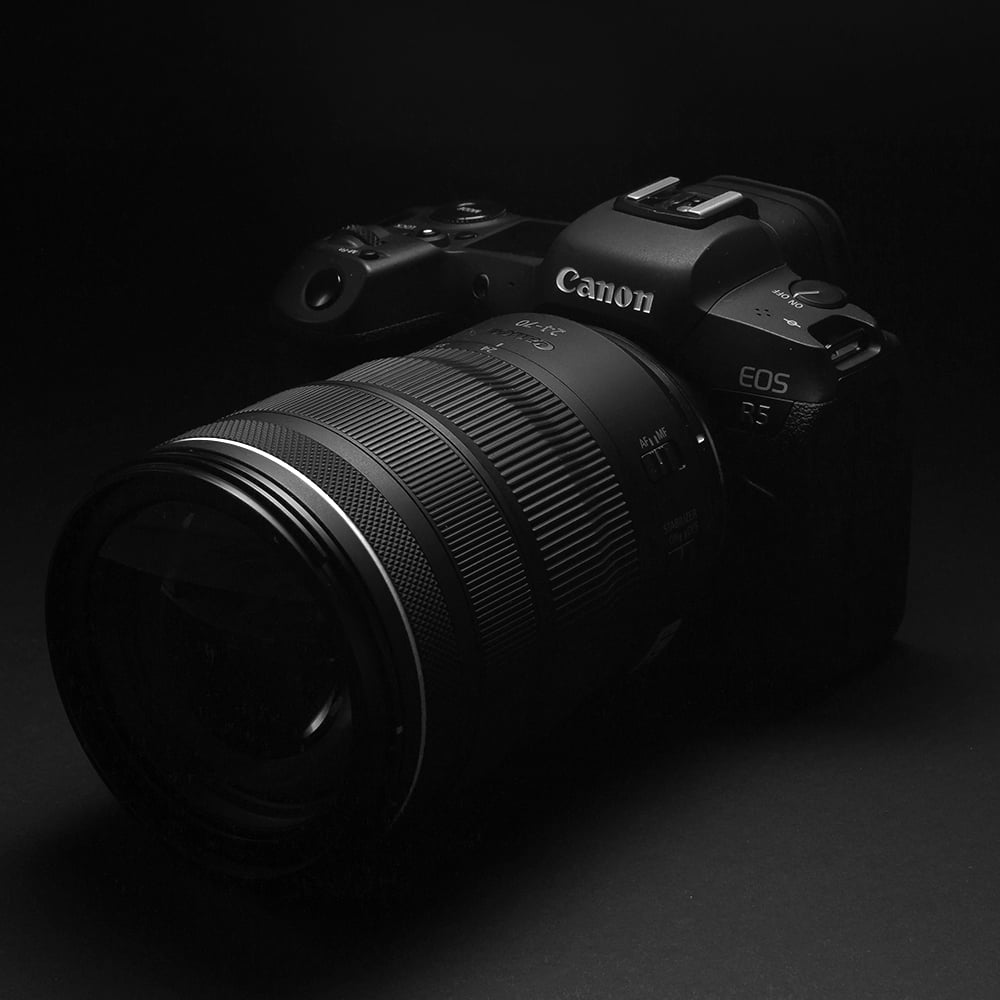
- Dark, moody, full of contrast.
- One bold key light
- Dark backdrop or flags to block spill
Perfect for: Music videos, dramatic portraits, fashion with punch
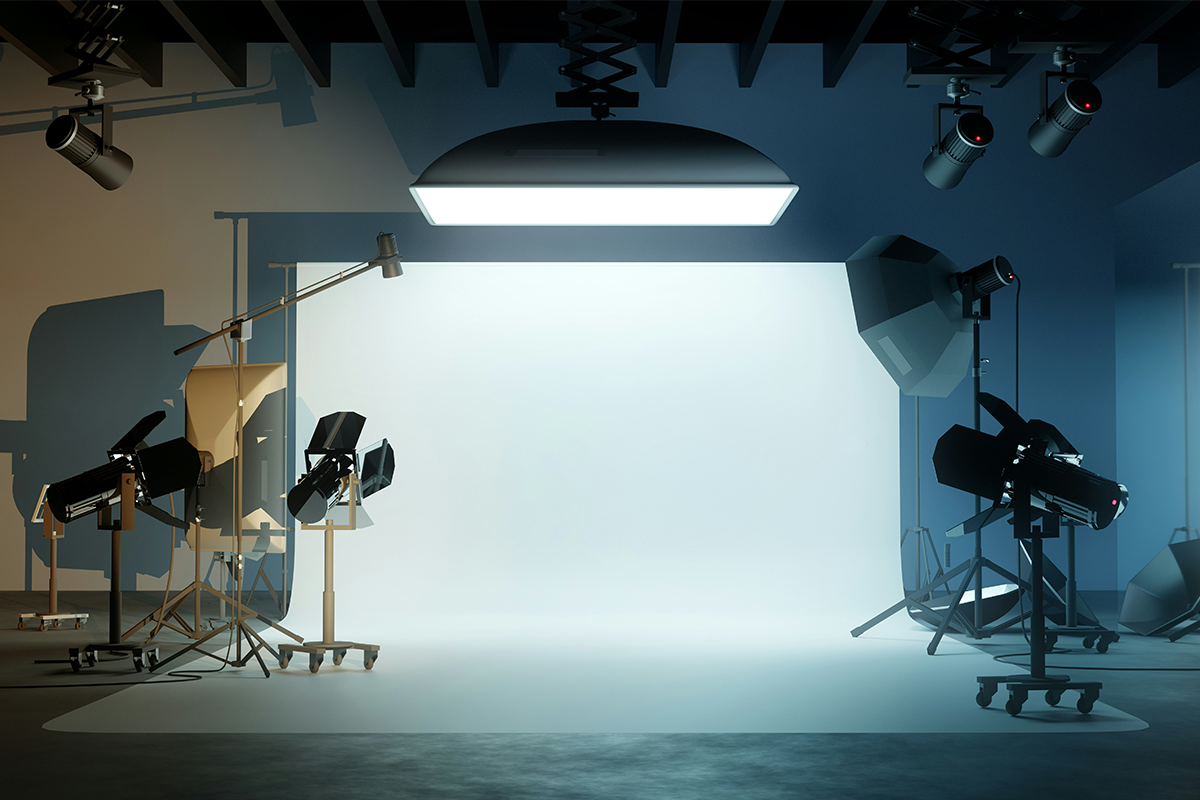
4. Coloured Gels and Practicals
- Add colour without post-production.
- Use coloured gels (teal for cool, amber for warmth)
- Include practical lights in the frame (lamps, candles, fairy lights)
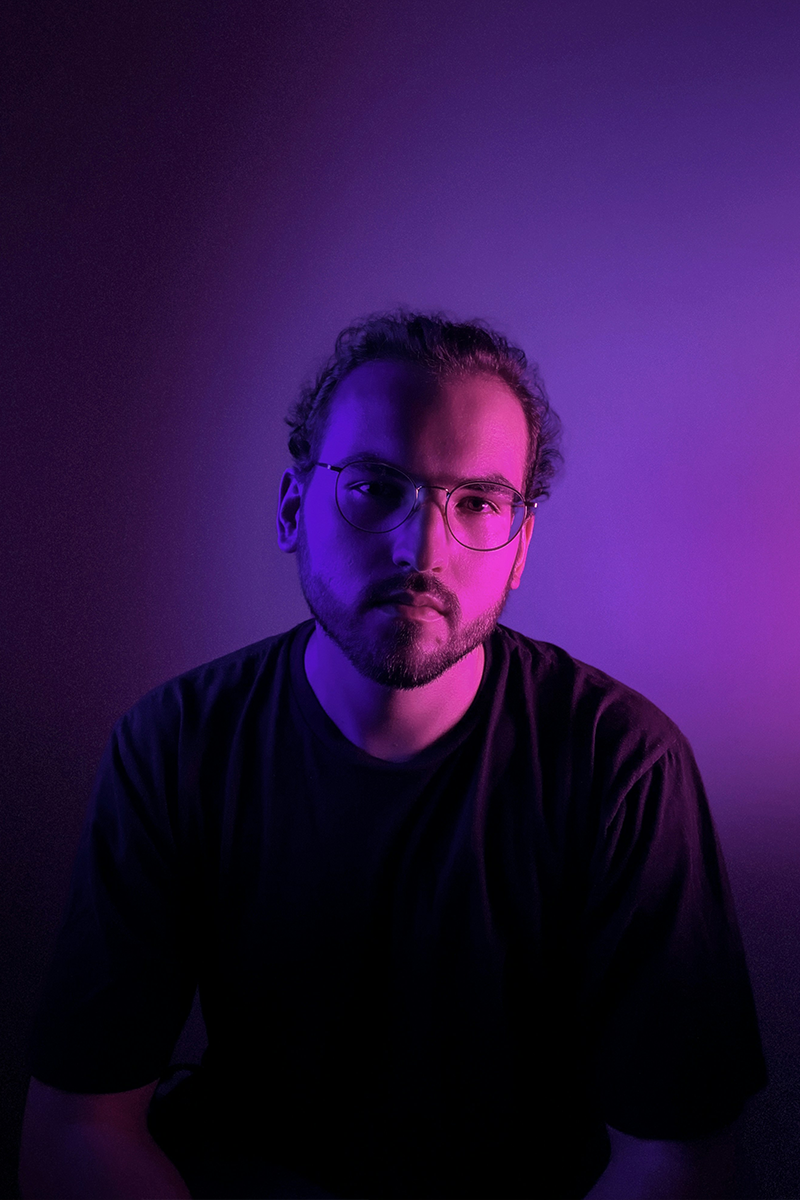
Try this: A soft orange key light with a blue gelled backlight. Boom - instant movie poster look.
5. Light-Shaping Tools That Make a Difference
It’s not just about what light you use, but how you shape it.
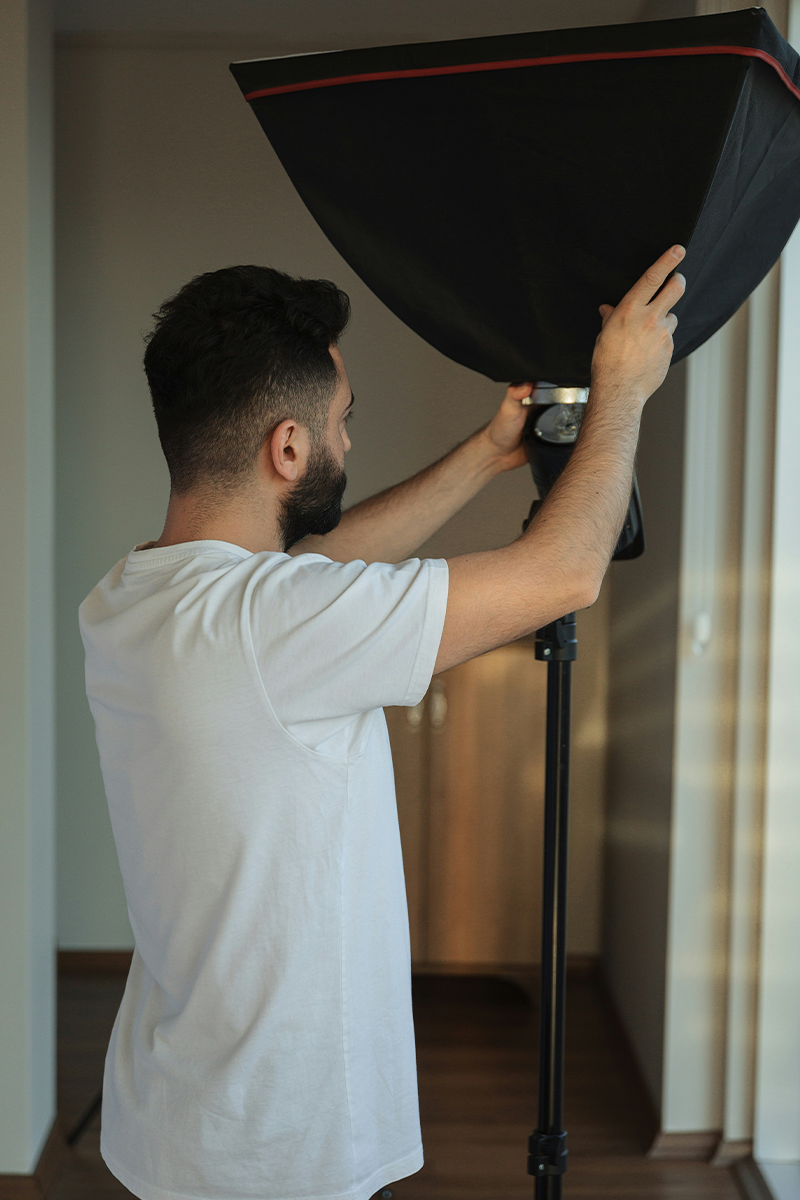
- Softboxes: Smooth, flattering light
- Grids: Control direction, cut the spill
- Reflectors: Bounce and shape shadows
Quick fix: Need daytime vibes after dark? Use a daylight LED and bounce it off a white wall with a softbox. It creates that sunny indoor look perfectly.
6. Cinematic Lighting Tricks
Want your videos to feel more like film?
- Cross Lighting: Two lights from opposite angles to add dimension
- Top-Down: Harsh, focused. Great for drama or product reveals
- Book Lighting: Bounce and diffuse for the dreamiest soft light
- Lighting Ratios: Play with contrast. Less fill light equals more mood
7. Natural Light (and How to Fake It)
Sometimes the best light is free. Shoot near windows, bounce it around with reflectors or soften with sheer curtains.
Shooting at night?
- Use large daylight-balanced LED
- Add diffusion panels to spread the light
- Bounce off ceilings or white boards for a faux window glow
Advanced lighting isn’t about having the most expensive gear. It’s about being intentional. Every light you place has a purpose, so let it serve the story you’re telling. Whether you’re capturing soft romance or bold drama, test things out, experiment with setups, and see what suits your style. The best lighting? The kind that’s yours.