Photographing birds in flight is one of the biggest challenges in wildlife photography.
The subject is fast, unpredictable, and usually far away. Even experienced photographers struggle with sharpness, focus, and timing.
But this is not about luck. It comes down to the right setup, the right technique, and consistent practice.
Start with the right camera settings
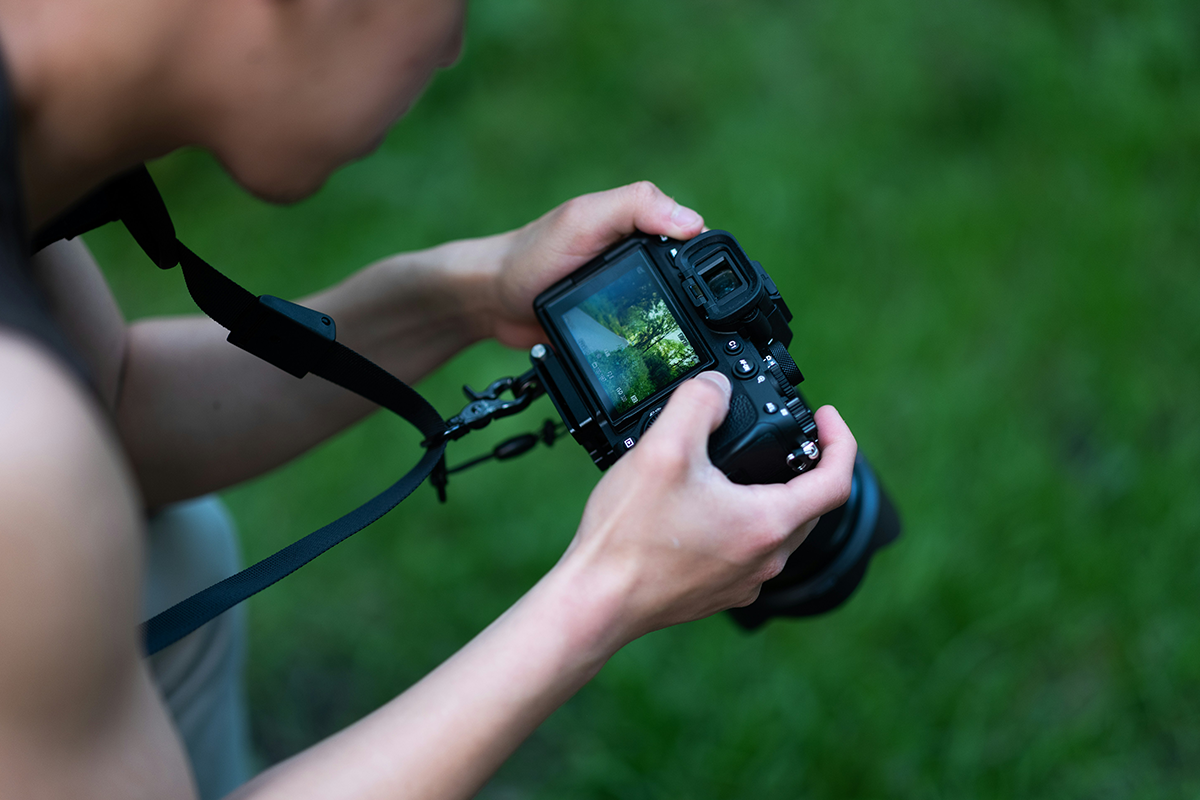
Your settings matter more here than almost any other type of photography. If the settings are wrong, even perfect timing won’t help.
Use this as your starting point:
Shutter speed:
- 1/2000s or faster for smaller birds
- 1/1600s for larger birds (eagles, herons, storks)
Aperture:
- f/5.6 – f/8
This gives you enough background blur while still keeping the bird sharp.
ISO:
Auto ISO works best in most situations. Set a maximum ISO limit that still gives you clean images on your camera.
Drive mode:
- High-speed continuous shooting (burst mode)
Autofocus mode:
- Continuous autofocus (AF-C / AI Servo)
Focus area:
- Wide area AF or zone AF works better than a single point when the bird changes direction quickly.
Extra settings that make a big difference
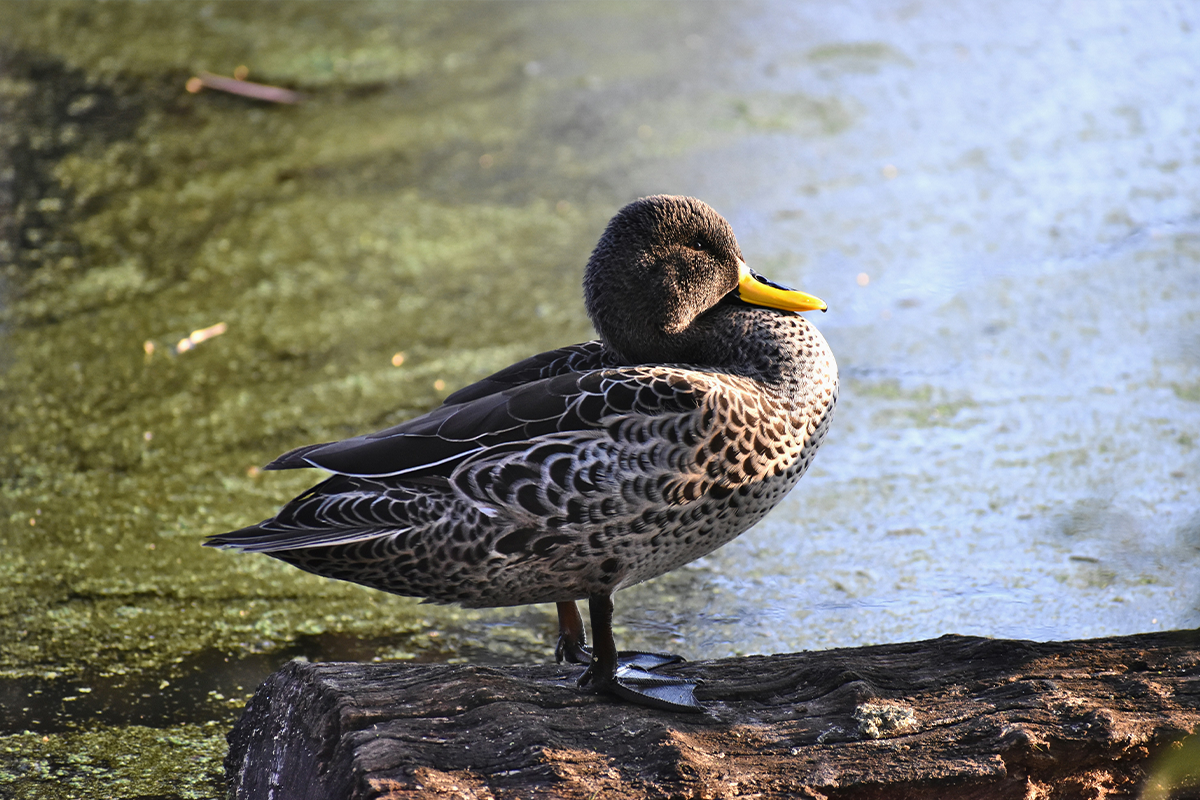
If your camera has these features, use them. They can dramatically improve your success rate when photographing birds in flight.
Pre-capture (if your camera supports it):
This helps you capture the moment just before you press the shutter, which is especially useful when a bird suddenly takes off.
Auto ISO:
Keeps your shutter speed fast without constantly adjusting settings while the bird is moving.
Back-button focus:
This lets you focus without pressing the shutter button. It gives you more control when tracking birds and prevents the camera from refocusing every time you take a photo.
Subject tracking (when available):
Modern cameras can recognise and track birds automatically. Once it locks on, it becomes much easier to keep the bird sharp.
High frame rate:
Use the fastest frame rate your camera allows. Even a short burst can make the difference between missing the shot and getting a perfect wing position.
Most photographers wait for something rare or dramatic before trying bird-in-flight photography. That slows your progress.
Look for:
- Hadedas
- Pigeons and doves
- Ducks at local dams
- Birds flying over dams, rivers, or wetlands
- Birds flying into the wind early in the morning
These birds are predictable and much easier to track.
Position yourself correctly
Your position affects your results more than most photographers realise.
The easiest situations are:
- Birds flying towards you
- Birds flying into the wind
- Birds flying over clean backgrounds like water or sky
Avoid busy backgrounds while you’re still learning. Your autofocus will struggle, and your success rate will drop.
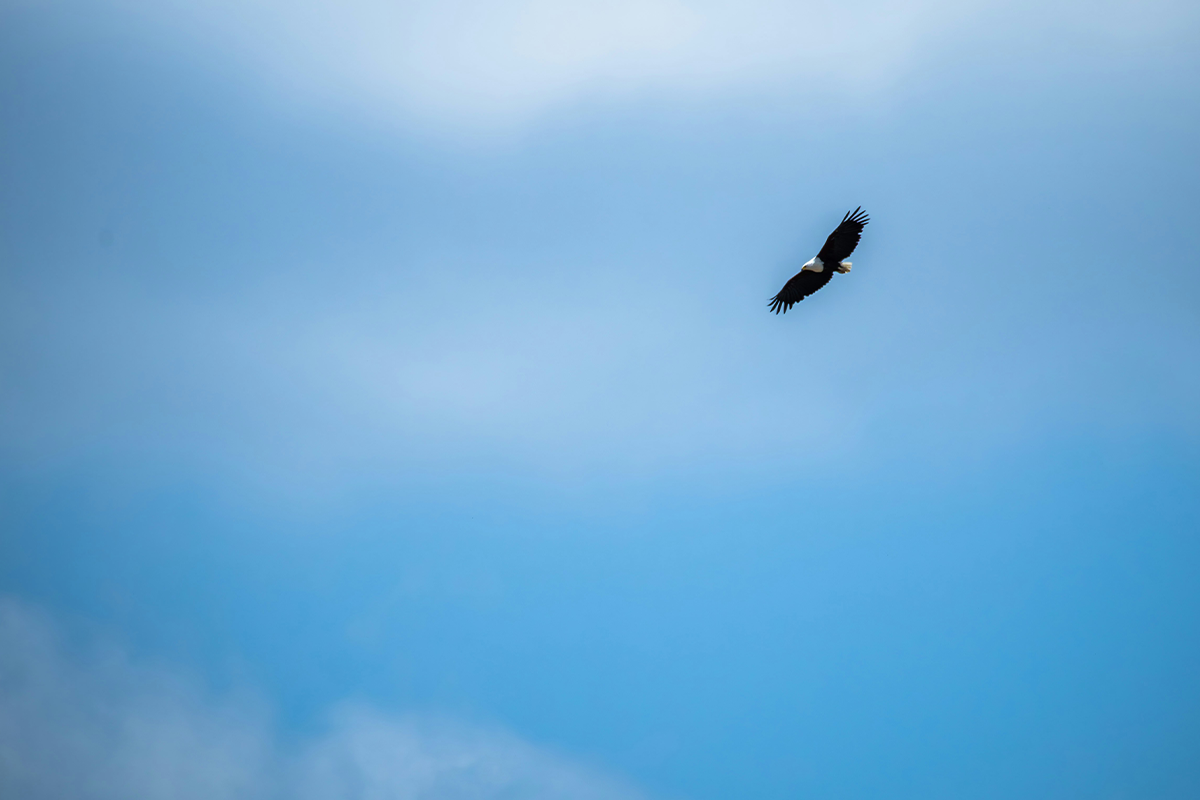
Learn to track before you shoot
A common mistake is pressing the shutter too quickly.
Instead:
- Lock focus on the bird.
- Track it smoothly for a few seconds.
- Always leave space in your frame for the bird to fly into, think about the rule of thirds.
- Then start shooting in short bursts.
This gives your camera time to focus properly and immediately improves sharpness.
Expect a low success rate at first
This is completely normal. Even experienced wildlife photographers delete most of their bird-in-flight photos.
What matters is consistency:
- Go out regularly
- Practise tracking moving subjects
- Learn how birds move
- Adjust your settings after every session
Improvement usually happens faster than people expect once they practise consistently.
Birds in flight are challenging to photograph, but that’s exactly what makes learning to capture them so rewarding. Your timing, focus, and confidence will improve steadily with practice, sharp shots don’t come from luck, they come from patience and repetition.
If you’ve been avoiding bird-in-flight photography, now’s a great time to challenge yourself. Start simple, use the settings above, and practise regularly. Need help with the basics? Our workshops can guide you through these settings and techniques.
You can also use the Firefinch app to see where birds are appearing in your area and log your own sightings, a handy tool to plan your shoots and track your progress.